Goal 🚀
Deploy NestJS + PostgreSQL + TypeORM project with the quickest and easiest way, for 100% free.
Prerequisites
✅ You already set up your project, using NestJS + PostgreSQL + TypeORM.
1. Deploy database using Supabase.
Let's start from the database. In this step, you don't need to modify your codebase at all. All we want to do is create a project, and get the environment variables.
Steps
- Login to Supabase, create a project.
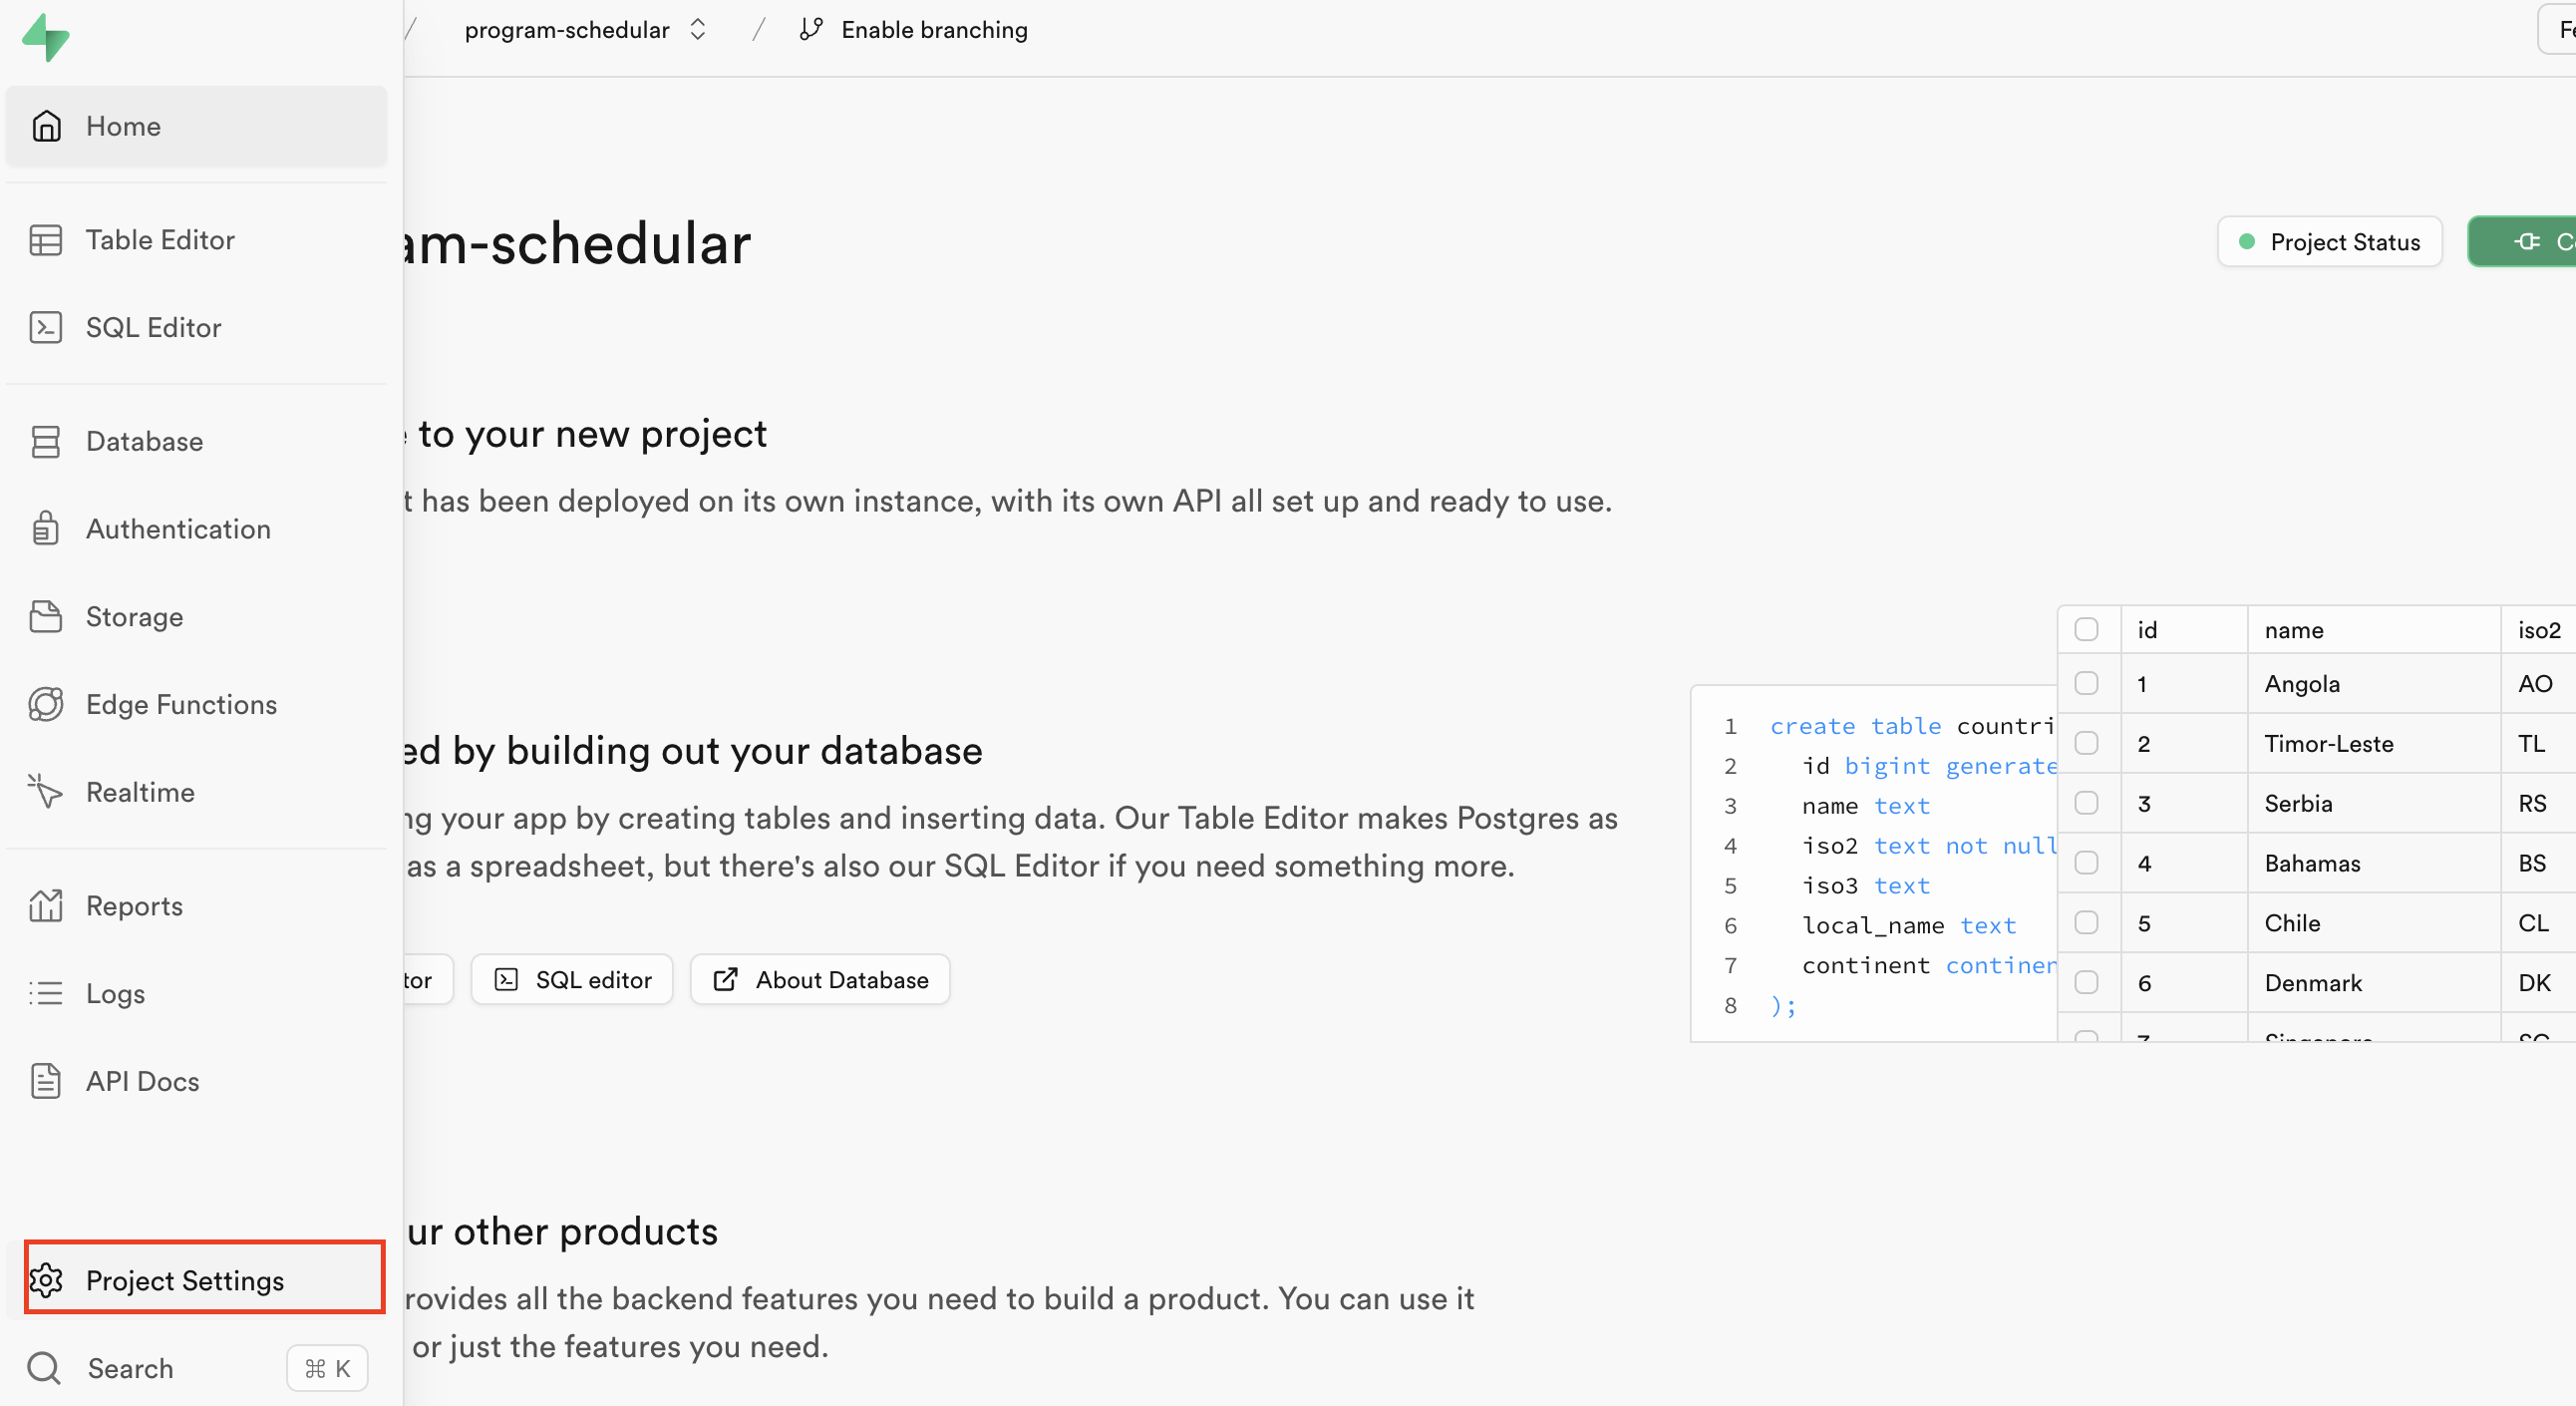
- In the dashboard page, go to "Project Settings" from the sidebar.

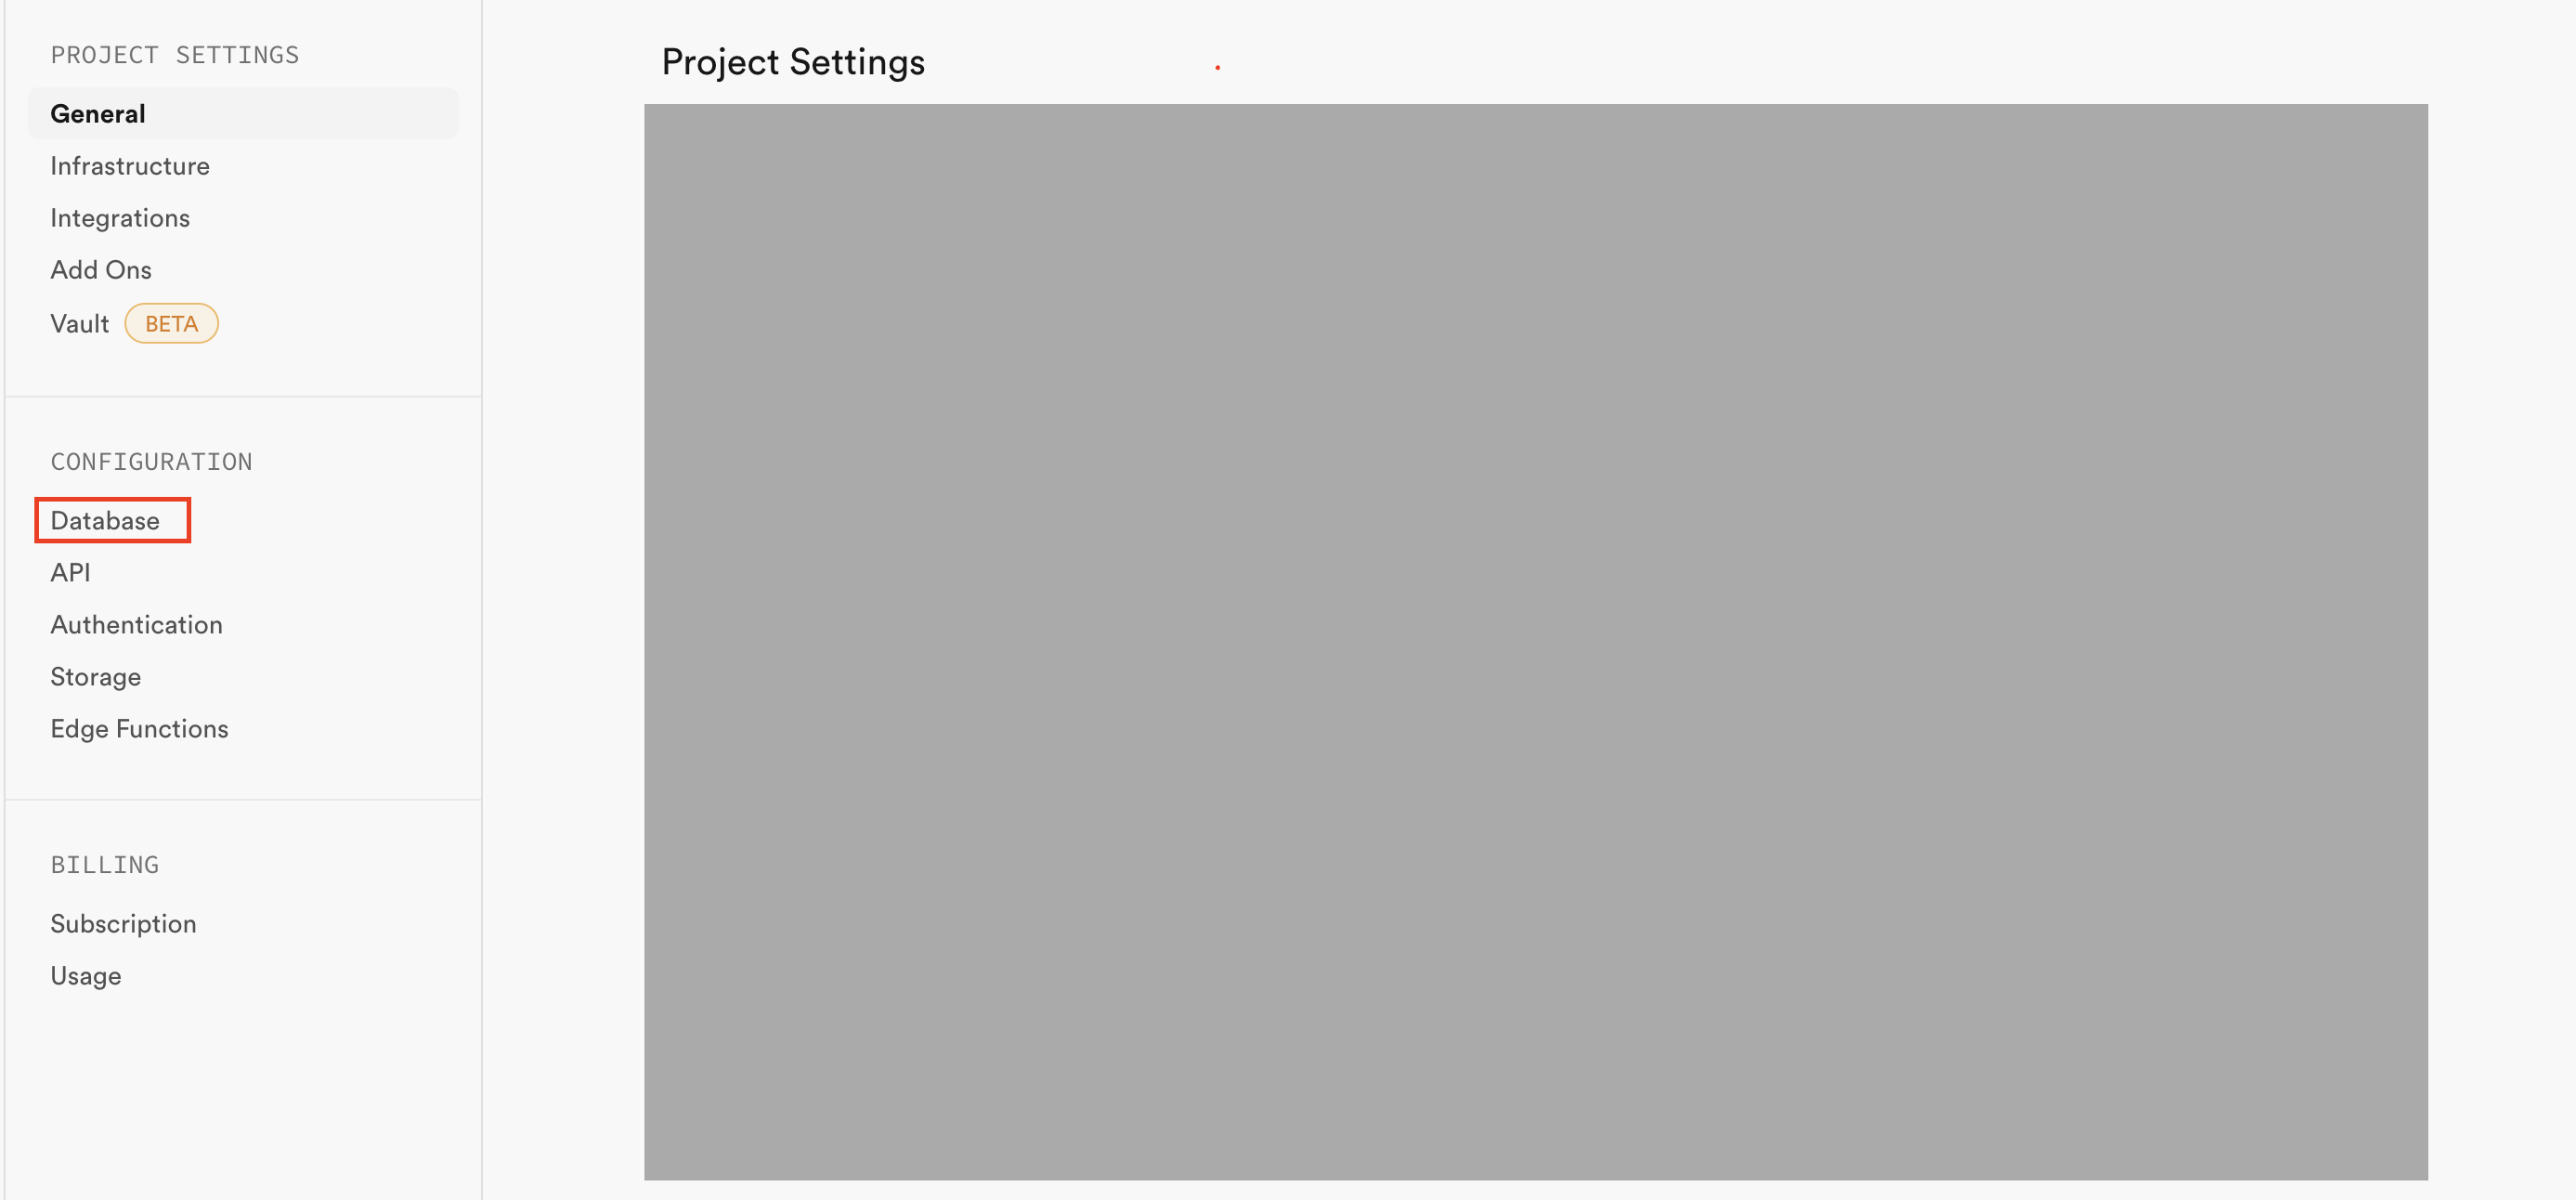
- In the setting page, go to "Database"

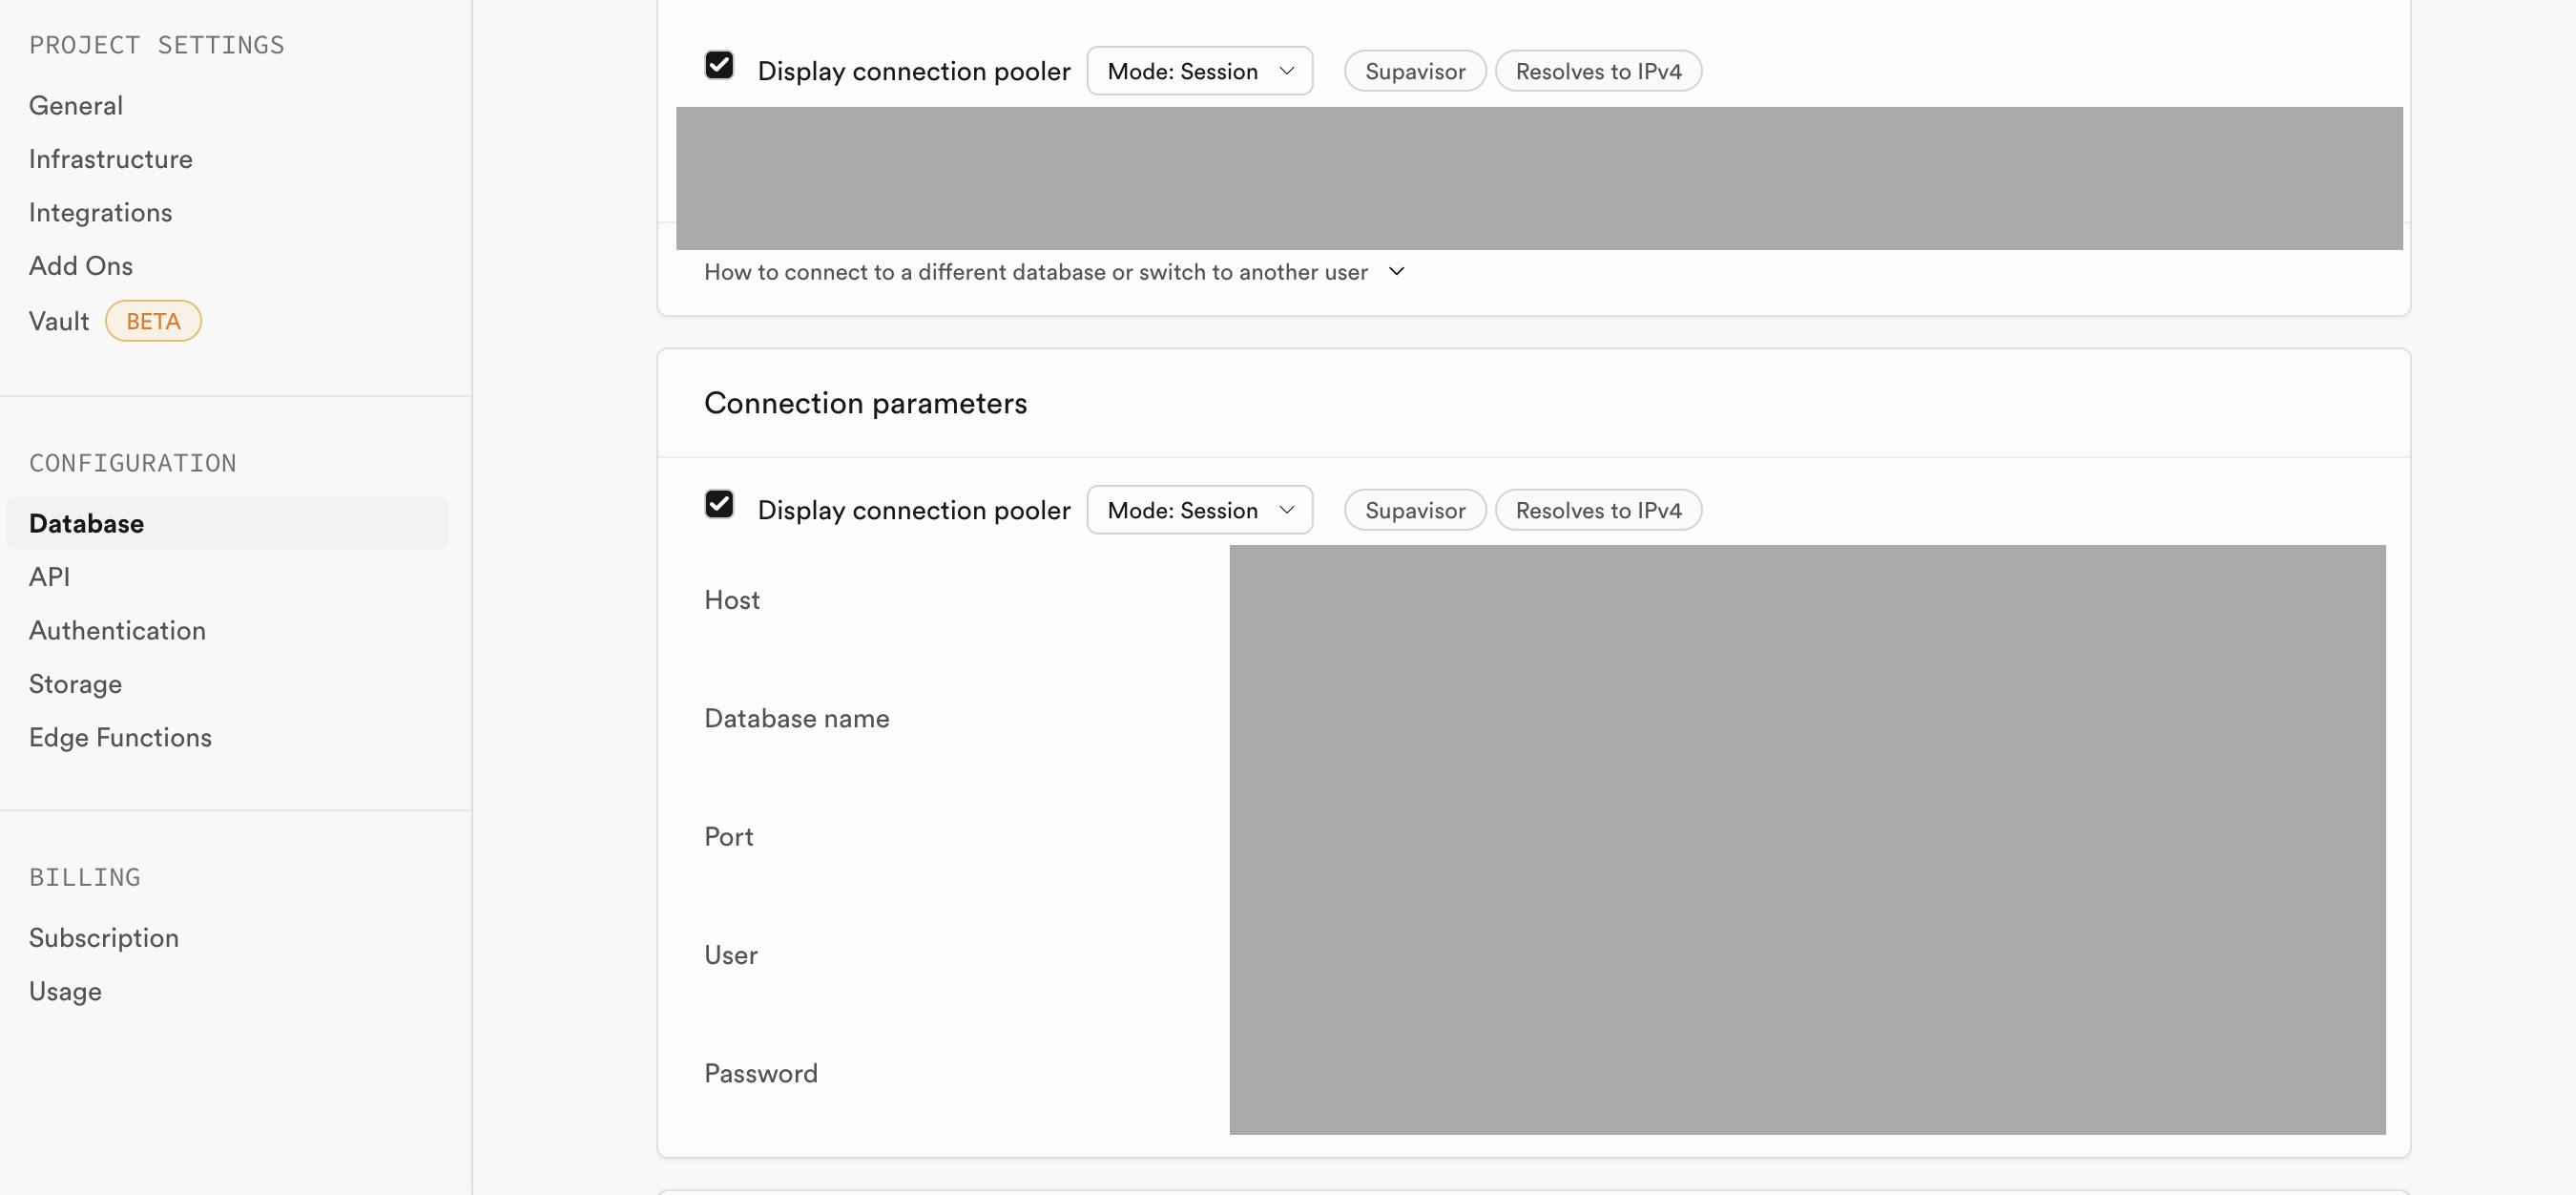
- You can check all of the environment variables in "Connection parameters" section. (Host, Database name, Port, User, Password)

2. Deploy API server using Render.
After setting up the database, the next step is to deploy the API Server. We will use Render for it, considering the pricing. (Reference)
Prerequisites
Your package.json scripts look like this 🔽
    "build": "nest build",
    "typeorm": "npx typeorm",
    "migration:run": "npm run build && npm run typeorm -- migration:run -d dist/data-source.js",
Of course there should be many other commands in your actual codebase, but just take these commands as a minimum to follow the instruction below.
Steps
- Add 2 commands below to your
package.jsonscripts
   "build:prod": "npm install -g @nestjs/cli && npm install && npm run migration:run",
   "start:prod": "node dist/main",
- Why
npm install -g @nestjs.cli? Without installing nest cli globally or run the command withnpx,nest buildwill fail because nest cli is not available in Render.(Reference)
- Click "New" button in the dashboard, and select "Create a new Web Service".
- Select "Build and deploy from a Git repository", and select the repository. You can deploy the project there.
- Select
Nodefor runtime. - For build command, use
npm run build:prod - For start command, use
npm run start:prod - Add the environment variables from Supabase(
Host,Database name,Port,User,Password).
- Select